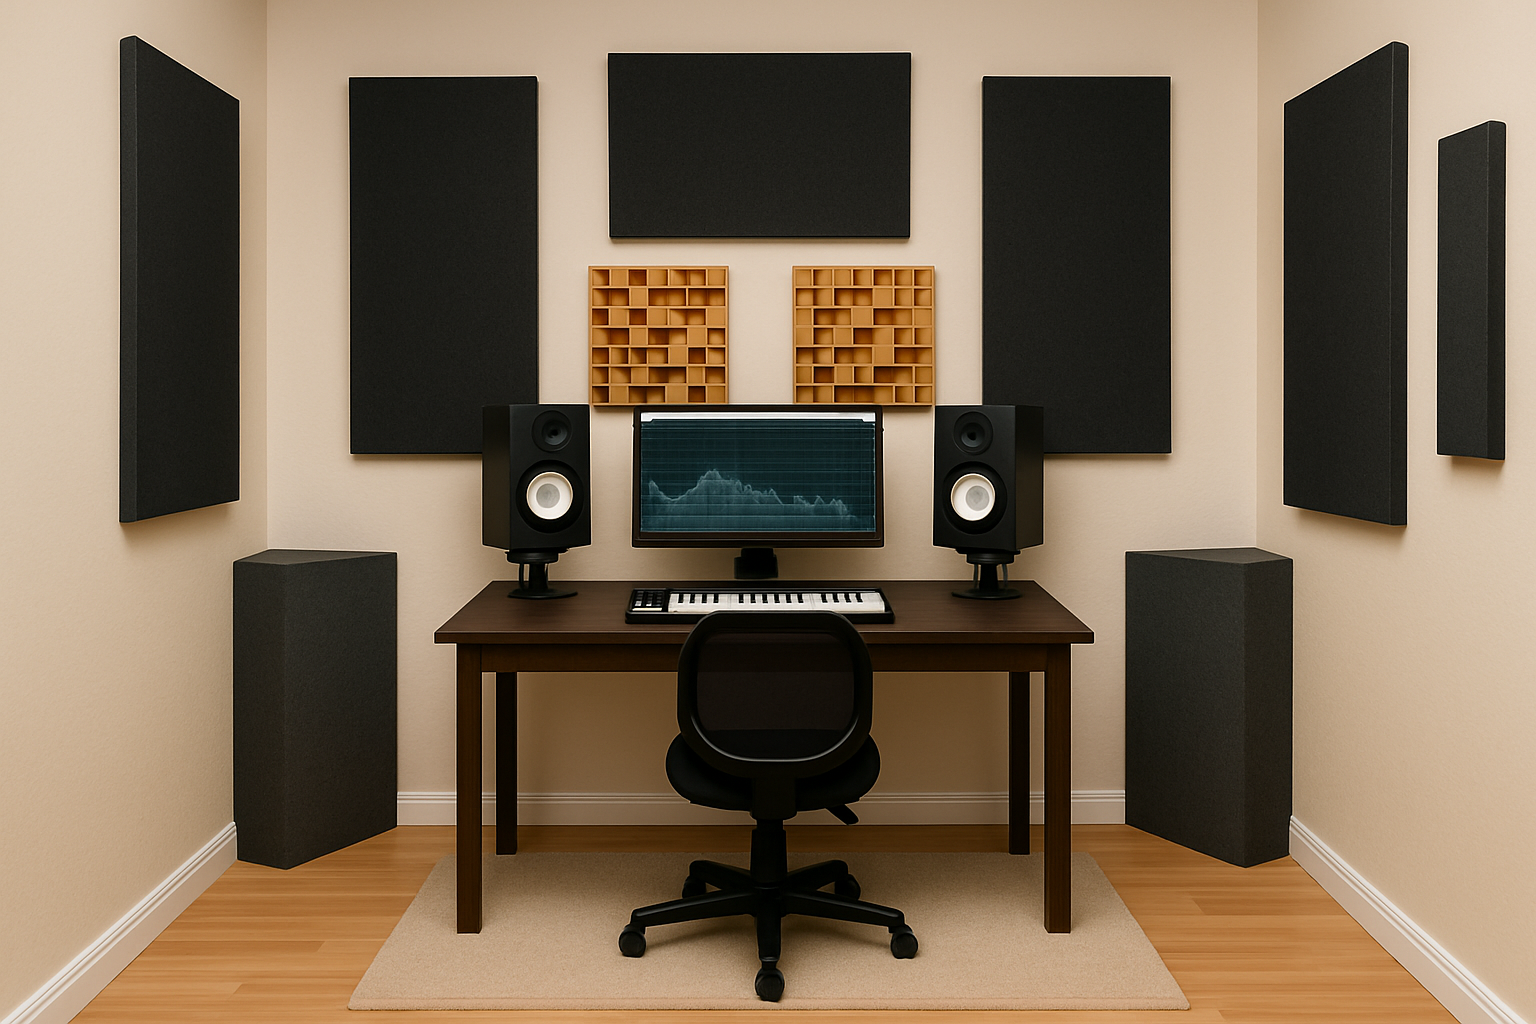
You can own the best monitors in the world — but if your room sounds bad, your mixes will too. Room acoustics are just as important as your gear.
Bare walls and untreated corners create reflections, standing waves, and low-end build-up that make it almost impossible to mix accurately. The good news? You don’t need a massive budget to get your space under control.
With a few smart upgrades, you can transform your room into a place where mixes translate.
The Basics of Room Acoustics
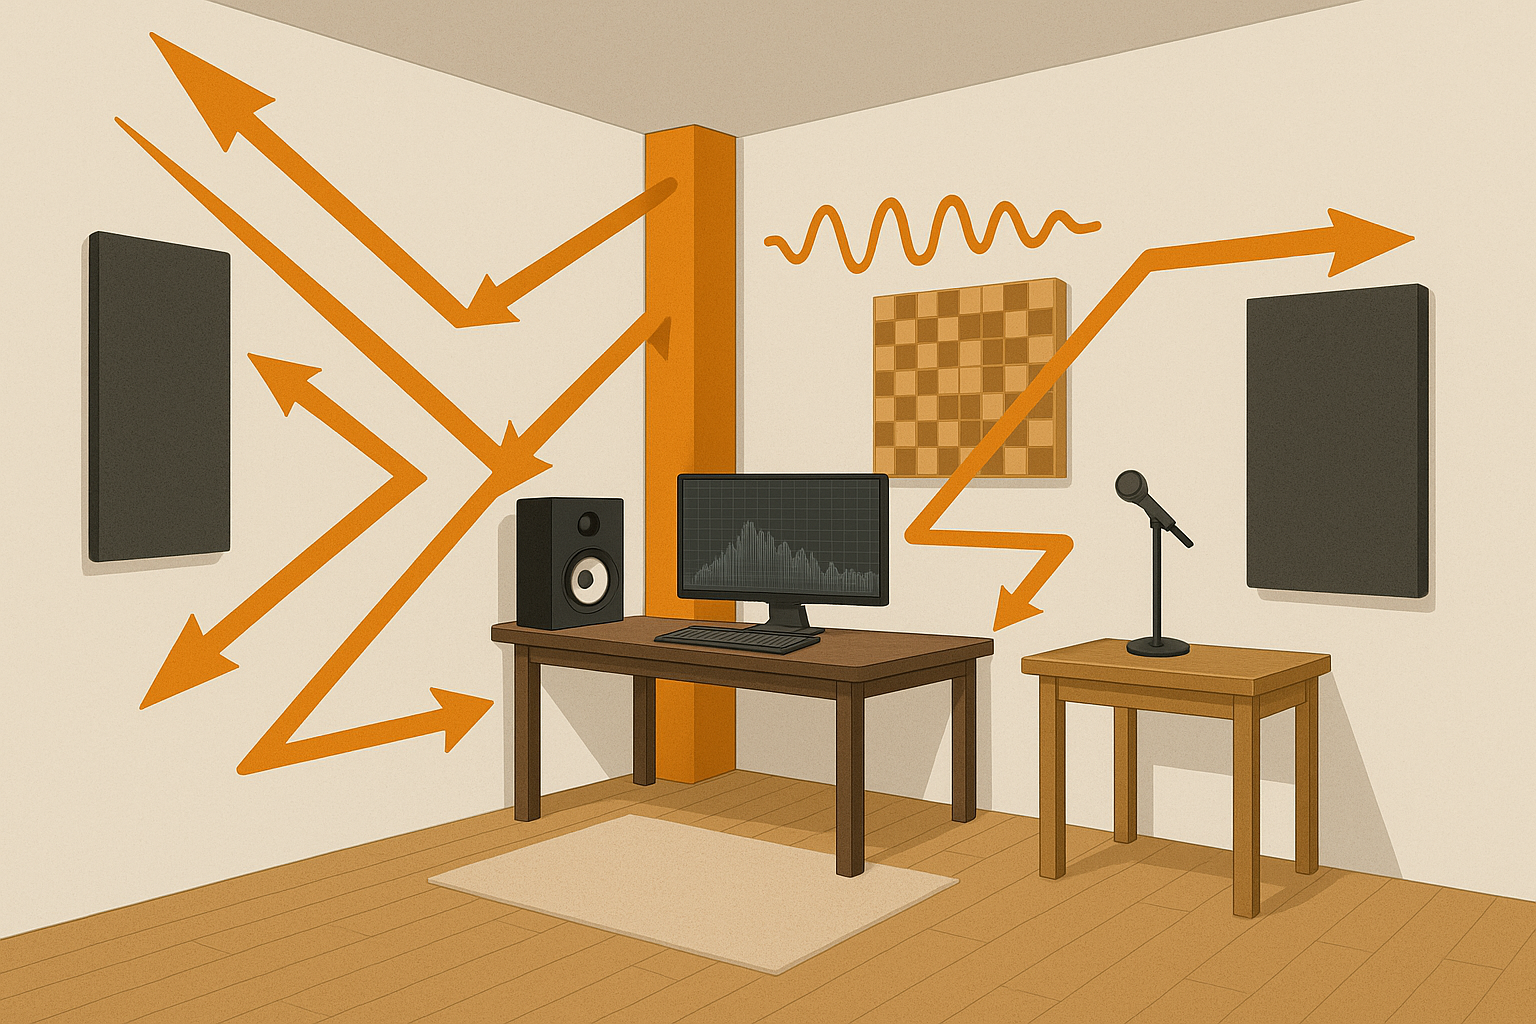
Reflections, standing waves, and flutter echo are the main culprits of poor studio sound. Hard surfaces bounce audio around, while corners trap low-end energy. Together, these distort what you hear, leading you to overcompensate in your mixes.
Treatment doesn’t change your monitors — it changes your room. Once you control the space, you’ll hear the truth in your sound.
Acoustic Panels
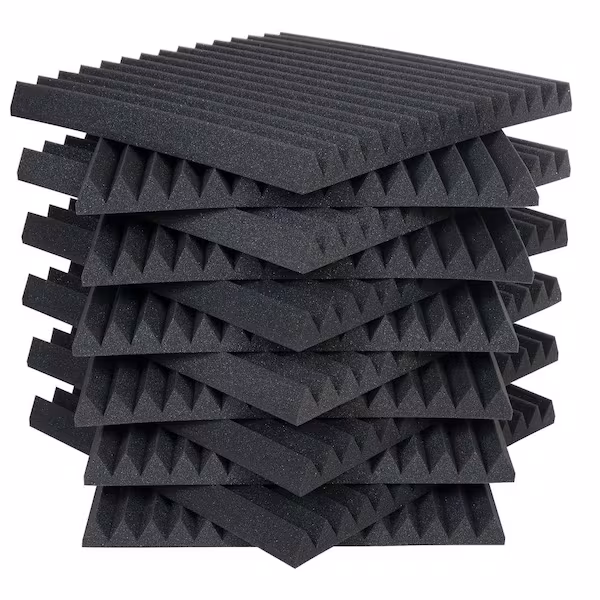
Absorption panels are the first step. They tame reflections and reduce harshness in mids and highs.
- Place them at first reflection points (side walls, ceiling above your listening position).
- Panels should be thick enough (at least 2″–4″) to absorb effectively.
Examples:
- Auralex Studiofoam Panels
- Primacoustic Broadway Panels
Bass Traps
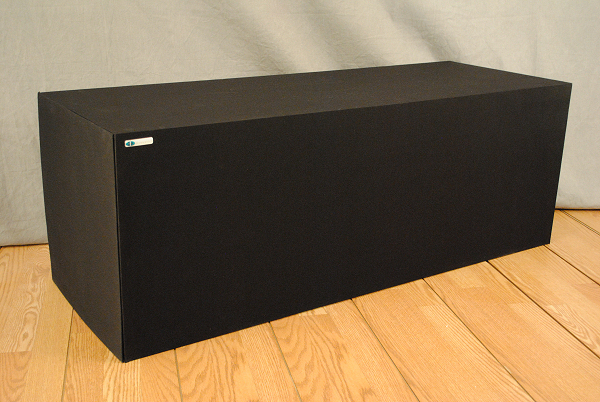
Low frequencies build up in the corners of your room, causing boomy and uneven bass.
Bass traps are thicker absorbers designed to tame these problem frequencies. Place them in all vertical corners first. If you have budget, add ceiling-to-wall corners too.
Examples:
- GIK Acoustics Bass Traps
- Auralex LENRD Bass Traps
Diffusers
Absorption alone can make a room sound “dead.” Diffusers scatter sound waves instead of killing them, keeping your room natural and lively.
- Place on the rear wall behind your listening position.
- Great for mid- to large-sized rooms where sound otherwise feels flat.
Examples:
- Vicoustic Multifuser DC2
- Auralex T’Fusor Diffusers
Quick Fixes on a Budget
Not everyone can drill into walls or spend big on panels. Luckily, there are budget-friendly hacks:
Thick blankets or duvets → temporary absorption for tracking vocals.
Rugs and curtains → tame reflections.
Bookshelves filled with books → act as natural diffusers.
Measuring & Adjusting
Don’t guess — measure your room.
- Simple test: clap in your space and listen for flutter echoes.
- For deeper analysis, try Room EQ Wizard (REW) with a measurement mic. It shows where your frequency problems really are, so you know what to fix.
Budget Breakdown
Starter ($200–$300):
- A few DIY panels with Rockwool or Owens Corning
- Thick curtains or rugs
- Two corner bass traps
Intermediate ($500–$700):
- Full set of acoustic panels for side walls + ceiling
- Four corner bass traps
- Basic diffusers for the rear wall
Pro ($1,000+):
- Commercial-grade panels and traps (Primacoustic, GIK, Vicoustic)
- Multiple bass traps covering all vertical and horizontal corners
- Combination of absorption + diffusion for balanced, professional acoustics
Final Thoughts
Acoustic treatment is an investment in accuracy. It doesn’t make your speakers sound “better” — it makes them sound honest.
Even a few panels and bass traps can dramatically change how your mixes translate to other systems. Start simple, upgrade over time, and your room will become just as trustworthy as your gear.
FAQ
Do I need to treat my entire room?
No. Start with first reflection points and corners. That alone fixes most issues.
What’s more important — panels or bass traps?
Both matter, but bass traps usually have the biggest impact since low-end problems are the hardest to fix with EQ alone.
Can I DIY acoustic panels?
Yes. With insulation (like Rockwool or Owens Corning) and fabric, you can build panels that perform nearly as well as commercial ones.
Do diffusers really help in small rooms?
Not much. For smaller spaces, absorption is far more effective. Diffusion works best in mid- to large-sized studios.
How much should I spend on treatment?
Even $200–$300 can make a noticeable difference. Start small and expand as your budget allows.
Looking for more guides? Return to our Guides Hub
Leave a Reply